You can pretty much take any veggie/veggie combination and either steam, sauté, or roast it.
Steaming is cooking by moist heat. To do this simply put cleaned, cut and trimmed fresh veggies into a pot or pan with a little water. Cover, bring to a boil, and heat on medium low until soft. You can also do this in the microwave. If you choose to steam in the microwave I suggest using a glass topped container or a bowl and use a glass plate to cover. (Thanks to my good friend Janet for this tip. There is contradicting information about heating plastics and plastic wrap in the microwave so I avoid it. Your choice though. Janet and I are sticking to the plate method!) Steaming works well for hard root veggies (like carrots, beets or potatoes) as well as for thin leafy greens (like cabbage, kale, and spinach) and flowering veggies (such as broccoli and cauliflower). Corn on the cob and artichokes are also good steamed. When steaming it's important to trim the veggies so that they are relatively uniform in size and remove the thick stems of leafy greens so that the veggies finish cooking at the same time. (Nothing like picking out the soft carrots so they don't overcook while the hard ones finish. This is especially annoying because a) they're really hot, b) the dog- aka my fourth child- loves carrots and will often jostle up next to me, put his paws and head on the counter to try and grab a piece when I'm not looking, and c) if poochie is successful he burns his little mouth and I have attend to him rather than finishing this quick side dish. Considering this scenario I just cut the dang veggies uniformly!)
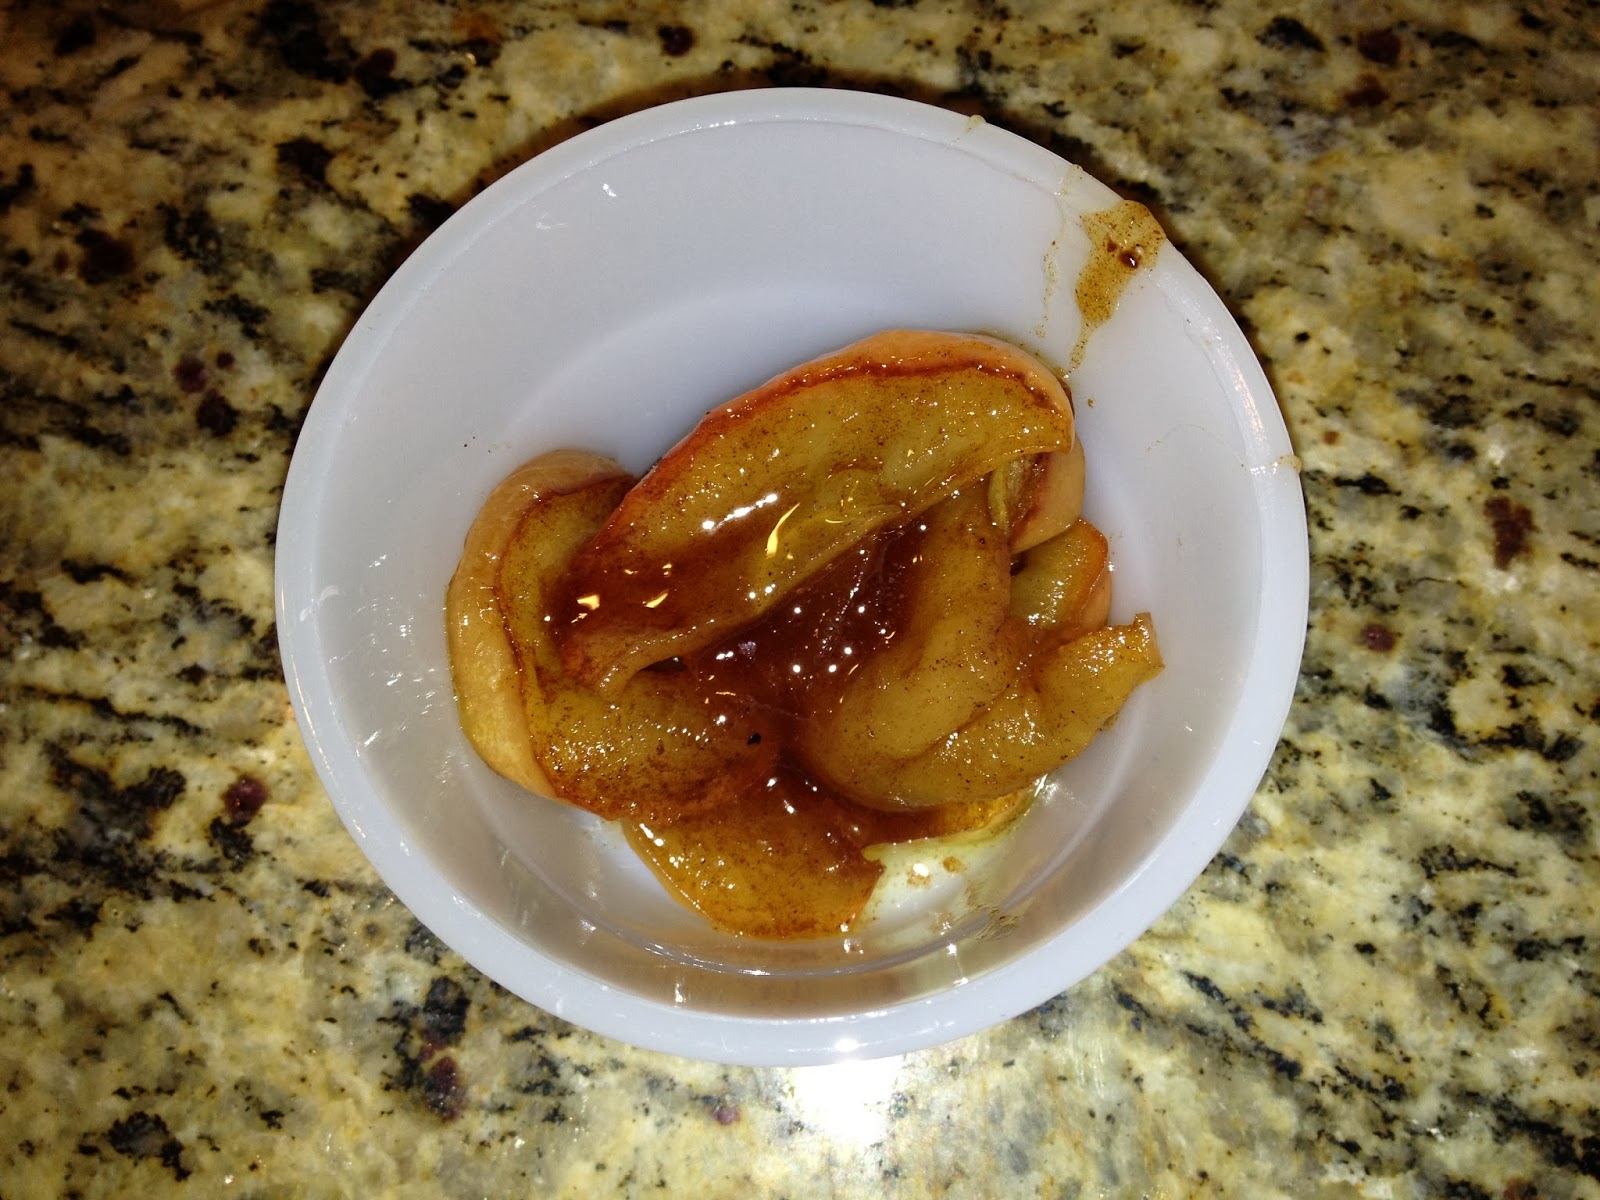
 |
| Yummy microwaved steamed carrots with leftover chicken. |
When it comes to seasoning I keep it simple. First drain the veggies. Then add a little olive oil or butter. Yes, I'm talking about FAT!! Fat soluable vitamins need fat to be absorbed. Don't deny your body these nutrients! If you're cutting the fat in your diet and are having it in another form in the same meal it's ok to skip it. (But artificial fats and trans fats cause more harm than good so those don't count. The natural fat in meats work. Store bought cheese filled chicken nuggets with a side of Oreos doesn't.) The fat adds flavor so only omit if you must. Then sprinkle the veggies with a little salt and pepper. That's it. The natural flavor of the veggies are enhanced without being overpowered. If you need more flavor, like a special husband I know, then feel free to add other herbs. Oregano or garlic are pretty good on most veggies. Experiment and see what you like.
Sauteing is cooking over a high heat while stirring the food frequently. It's not as time consuming as it sounds. Just trim, cut and wash your fresh veggies, heat a little olive oil (about the diameter of a quarter or half dollar) in a pan and cook over a medium heat. (Frozen veggies are easier with no washing and trimming needed.) Stir every so often. Good veggies for sauteing are leafy greens, mushrooms, zucchini, onions, Brussels sprouts and thinly sliced potatoes. (Potatoes will fall apart but taste great.) A combination of these is delicious too. Just put the harder solid veggies into the pan to cook first. Again, uniform trimming is a good idea.
To season do the same as steaming. No draining though and you probably don't need to add more oil. A little butter can be added for flavor but it's not necessary.
 | |
|
Roasting fresh veggies is like putting dinner on auto-pilot. Just pop the veggies in a preheated 350 degree oven and walk away for an hour. Or in my case walk to the laundry room and fold laundry. (Or clean the remnants of a lollipop from a sweatshirt fresh out of the dryer. Or sew on a button. Or take out the miss matched sock basket and play memory. My options are endless!) Again you'll have to wash, trim and cut the veggies uniformly. Put them in a baking dish or jelly roll pan (It's a baking sheet with sides- you don't want run away veggies roasting on the floor of your oven believe me.) and drizzle with olive oil. If you want to add herbs do so before roasting. (Same suggestions as when steaming veggies.) Save salt and pepper for afterwards. The salt dehydrates. Since the salt and pepper go together I just add it before serving too. Veggies conducive to roasting are those yummy root veggies, onions and other alliums like shallots and garlic cut thick or left whole, beets, turnips, kohlrabi, and most veggies I find in my CSA box but don't know what to do with. (Or what they are!) Winter squash works well too but as I'm not a big fan I'll leave that to others who really know what to do with it. Just google "roasting squash".
Roasting takes time but I consider it a quick side dish because the hands on time is minimal. With a little planning it I can make roasted vegetables even on a busy weeknight. For example this week I left the veggies roasting in the oven and took my little miss- daughter aged 13- to a parent meeting for one of her after school activities. My oldest, who was home studying for finals, turned off the oven when the timer rang. She left the oven door open a crack as I had asked her and it was all good. (She's much better with this than cutting chicken on the bone. Go figure...) If you use this method I suggest getting a portable timer (not the one on your oven) and placing it in the room with the designated oven monitor. "But I didn't hear the timer..." is not a good situation to come home to.
 |
| Roasted carrots, potatoes, onions and the leftover orange peppers from my son's school snack this week. The pepper slices were added after the first 30 minutes so they didn't overcook. |
I prefer fresh veggies but sometimes my family wants something that's not in season. Canned or frozen vegetables are a good option. I try to buy only brands who use BPA free cans whose vegetables are organic. (I know some of you out there may disagree but I think the anti-organic sentiment is based more on politics than fact. I've just read too much to believe otherwise. This is a good place to start if you want to explore the subject for yourself.) As far as I know frozen vegetables' packaging doesn't pose a health risk but I never heat them in the bag. Best part of buying canned or frozen? No washing, trimming and uniformly cutting! Frozen and canned veggies do best when steamed or sautéed.
These are the basic cooked veggies I serve regularly. When my days are too busy for one of these options I simply cut up some carrots, celery and/or red peppers and call it a crudite plate. Sounds a lot more interesting than raw veggies on a plate, right? Ranch dressing makes it more special but my family eats the veggies nakie too. (Just the clarify the veggies are nakie- not the hubby and kids.) I've also been known to take out a container of pre-washed lettuce and make a salad bar with a leftover crudite plate found in the fridge.
Now before you think, "OMG!! Sarah's family is so wholesome! We'll she makes all those wonderful veggies... It's no wonder they love them. And even NAKIE without dressing!' just don't! I eat 75% of the vegetables in this house. When I refer to my family as "eating" or "wanting" certain veggies I'm honoring their wishes in an attempt to get them down the hatch. It's no easier for me than any other parent (or wife) out there. I just blab on and on about it more than most.
I hope my ideas and instructions simplify your meal preparation. Let me know what you think in the comments below!
Sarah