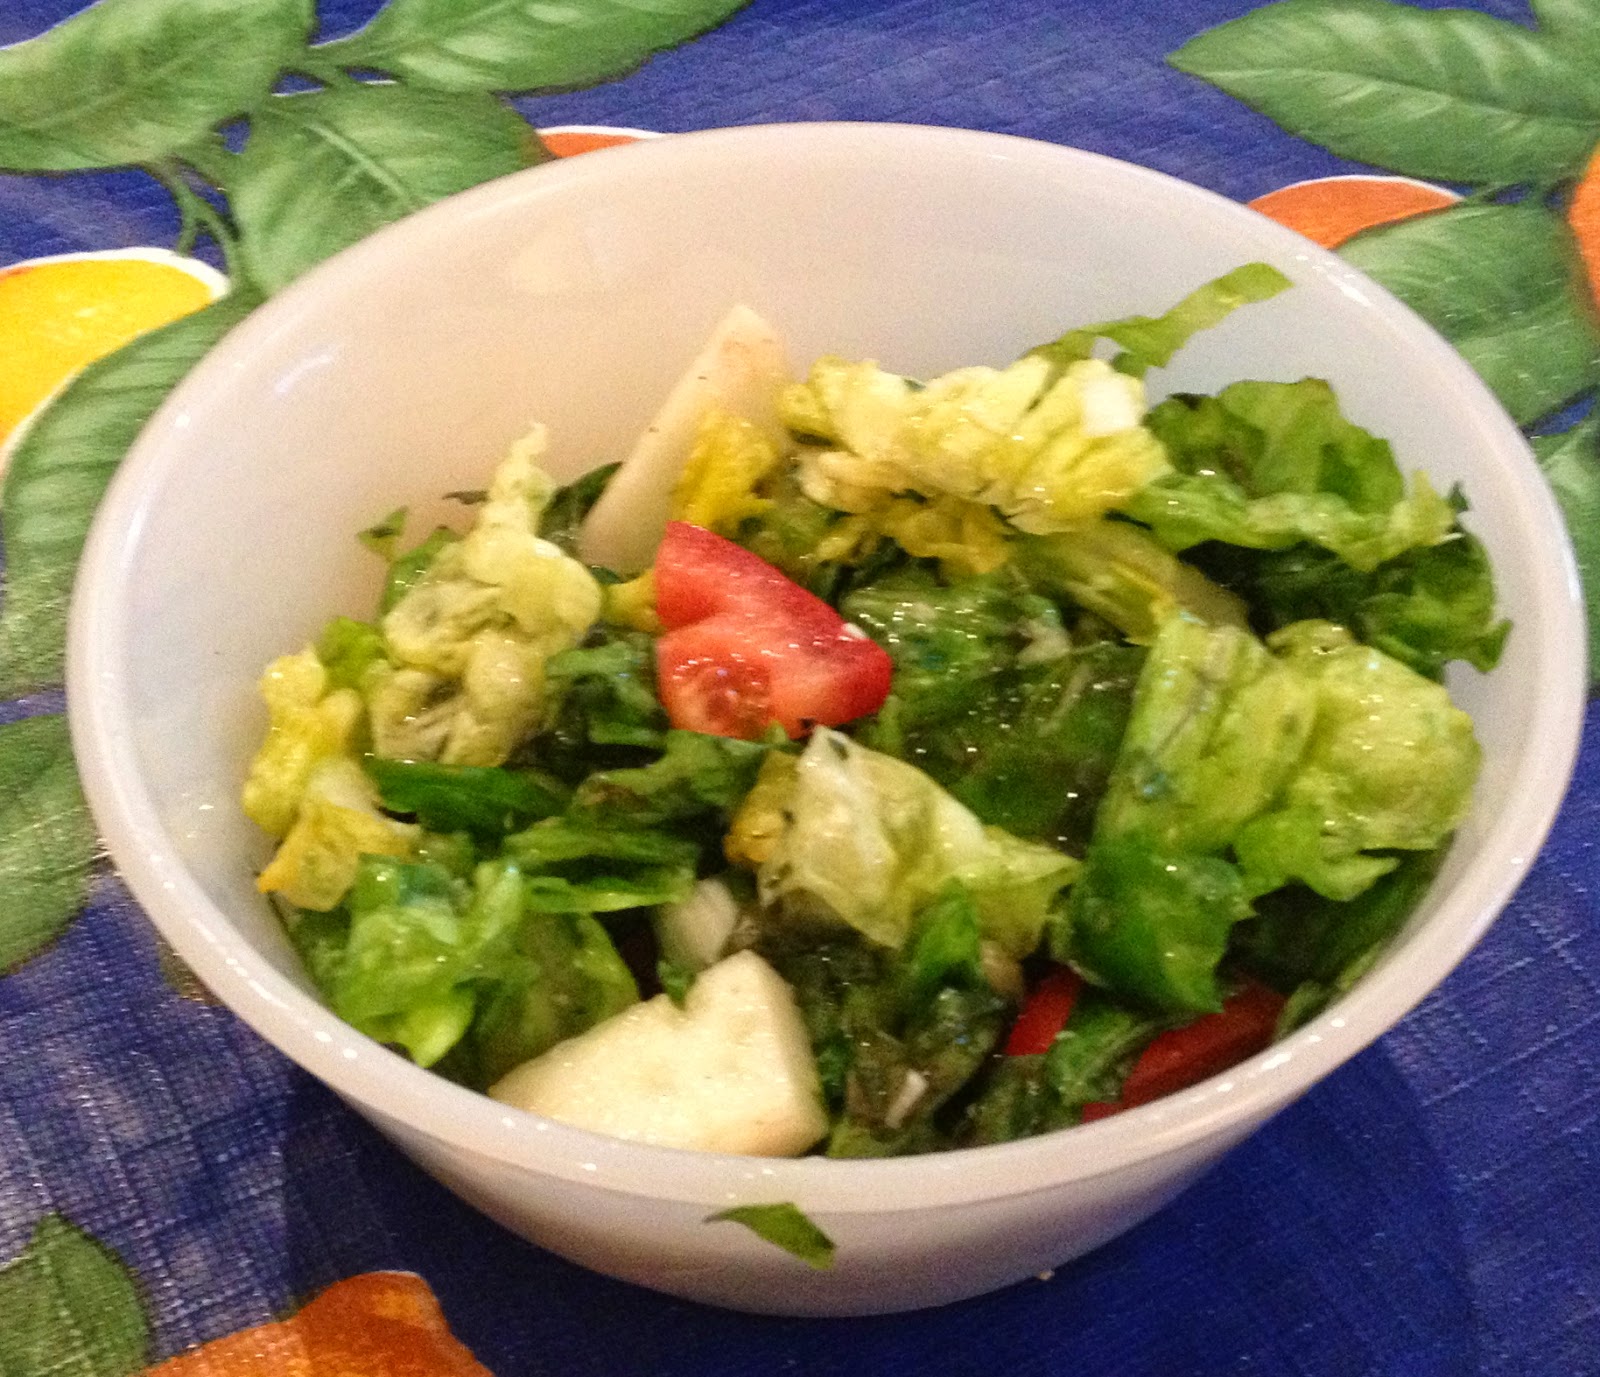
The California Special is what I'd consider a typical 1950's salad in that the dressing is made on the salad in the kitchen then served family style at the table.. It's a communal salad- not a "pick your own dressing" modern salad with 2-3 bottles of dressing cluttering the table and a bowl of optional croutons. It's another example of how cooking in the past was sometimes easier, despite the lack of convenience foods and the microwave. This was before we Americans adopted a "restaurant" mentality at home. Back in the day everyone ate the same meal. (And you liked it...or you went hungry.) Much easier on the cook. Even with today's "heat and eat" meals it takes a long time to get dinner on the table if one must make different meals for each family member.
Despite the convenience of a communal salad I don't like dressing served on a salad. It makes the lettuce wilt and the leftovers soggy. I suppose I'm spoiled by all the times I asked for "dressing on the side". I think that movie "When Harry Met Sally" made it ok. Seriously, has anyone in the past 20 years gotten flack from waitstaff for "dressing on the side"?
Onto our recipe! Here's the original.
1 Head of lettuce (any type you like or a box of mixed greens)
1/2C Green onions, chopped
1/3C Radishes, sliced
1/4C Fresh parsley, chopped
1 Chopped tomato
1/2C Olive oil
2T Red wine vinegar
1 Clove of garlic, chopped very small
1/2t Salt
1/4t Pepper
1/2t Savory (or more- I added another dash)
2T Shredded parmesan cheese
Mix the lettuce and veggies in a serving bowl. Put the oil, vinegar, garlic, herbs, spices, and cheese in a measuring cup or serving bowl. Mix well. Let guests/family members serve themselves being careful to give the dressing a good stir before topping their salad.
Here's the result:
The original recipe it says to rub a wooden salad bowl with garlic. I suppose this is to give the salad a subtle garlic flavor. I've tried it before and it's just not enough so I say just go ahead and use the garlic. If you make the dressing ahead of time or have leftovers you'll notice the garlic flavor mellows a bit too.
Hubby and I really liked the salad although hubby picked out the radishes. None of the kids liked it which surprised me as they usually happily eat salads. The parsley threw off my son and the girls thought it had too much vinegar. Odd because I wanted more vinegar. I'm thinking they didn't mix the dressing enough before putting it on their salad.
This is a good basic dressing recipe to be used on any greens and veggies. You could use different cheese or herbs too. With all the options at the farmers market (My son and I went this weekend for the first time this summer. So many choices!) I know I'll have fun changing it up with what I find. I hope this inspires you to experiment and enjoy all the veggies that summer has to offer!
Sarah


